Installation
Install MuteCloud on a Linux or Windows server and set up your first network with the setup dialog.
One line
On Linux and macOS:
curl -fsSL https://cdn-mutecloud.mutebefehl.de/install.sh | shOn Windows in PowerShell:
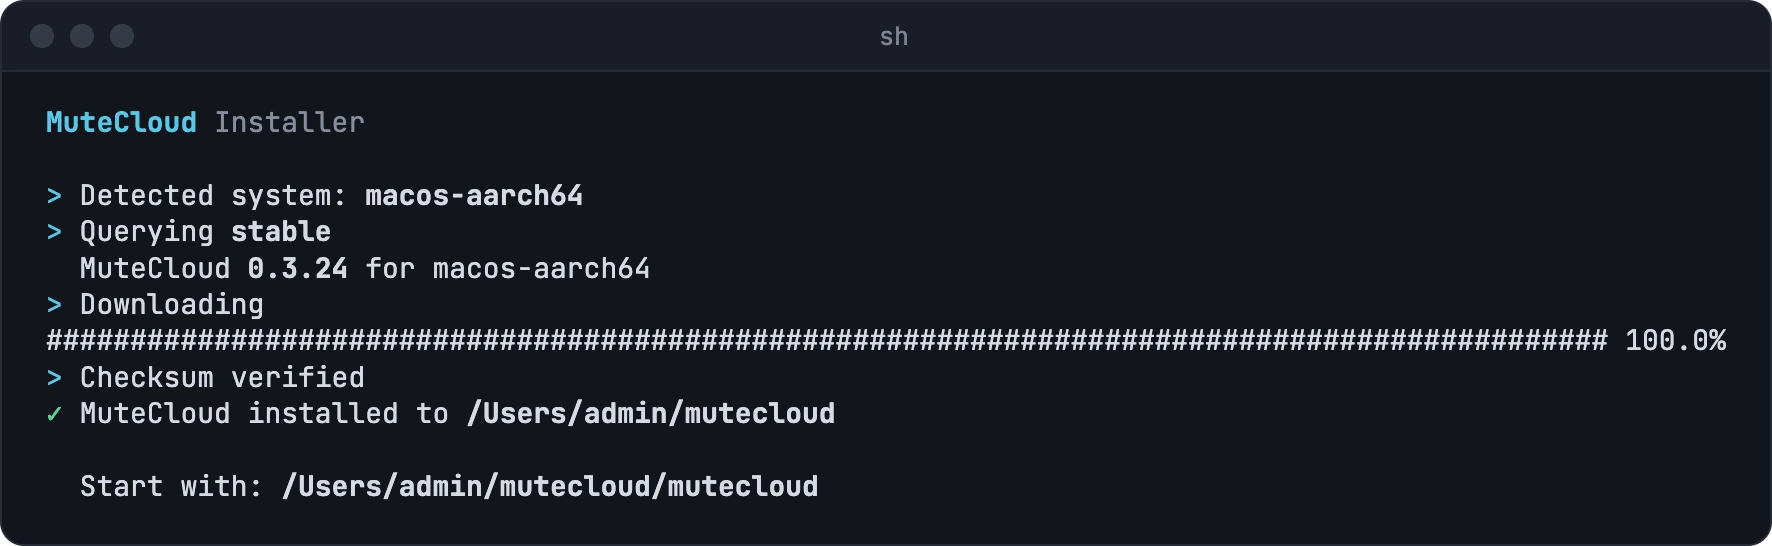
irm https://cdn-mutecloud.mutebefehl.de/install.ps1 | iexThere are builds for Linux on x86_64 and aarch64, macOS on Apple Silicon and Intel, and Windows
on x86_64. The installer detects system and architecture by itself and uses the native build on
an Apple Silicon Mac even when the shell runs under Rosetta. It picks the binary matching the
platform, fetches it from the stable channel, verifies it against the published SHA-256
checksum and places it in ~/mutecloud, on Windows in %USERPROFILE%\MuteCloud. If the checksum
does not match, it aborts and leaves nothing behind. Then it starts the setup in the same window.
There are no prerequisites beyond an operating system. Java, server software and the unpacker are built in. Two cores and one gigabyte of RAM are enough for the cloud itself.
The installer is controlled through environment variables: MUTECLOUD_DIR for the directory,
MUTECLOUD_CHANNEL for the channel, MUTECLOUD_START=0 to install without starting.
Setup
The setup starts right after the installer and can be run again at any time with
mutecloud setup. It first asks for the language, then checks whether the machine has enough
cores, memory and disk space and can reach the internet. From the free memory it derives a
suggestion for the memory pool, which it offers again at the end.
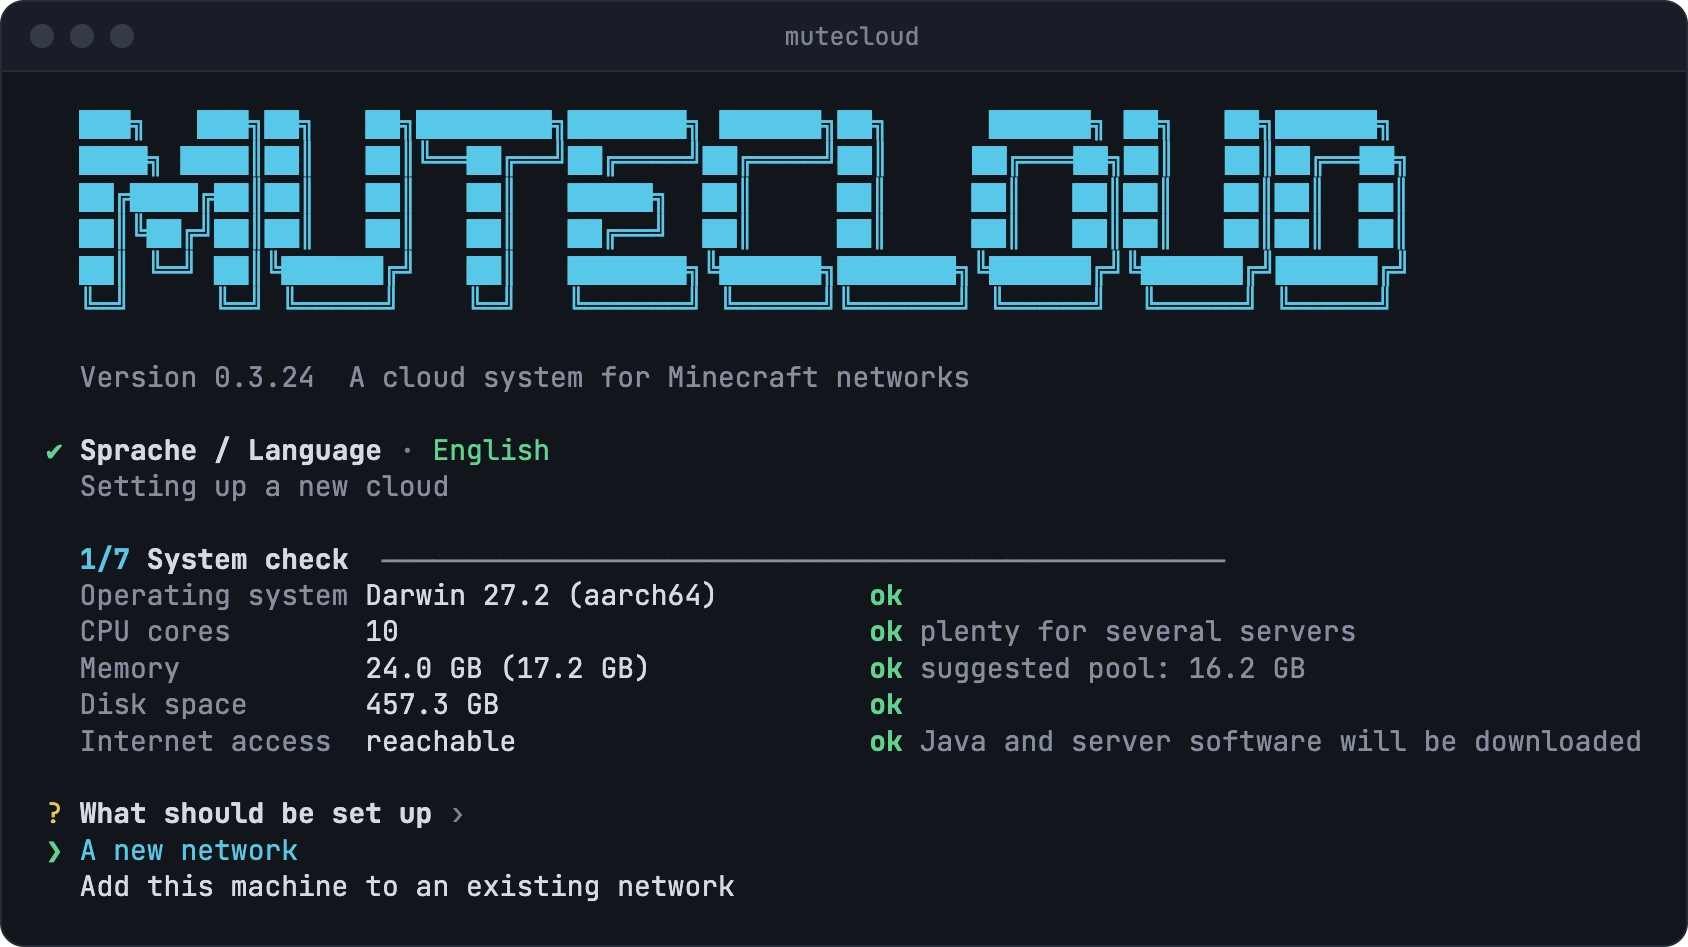
Next you choose between a new network and joining an existing one, as described in
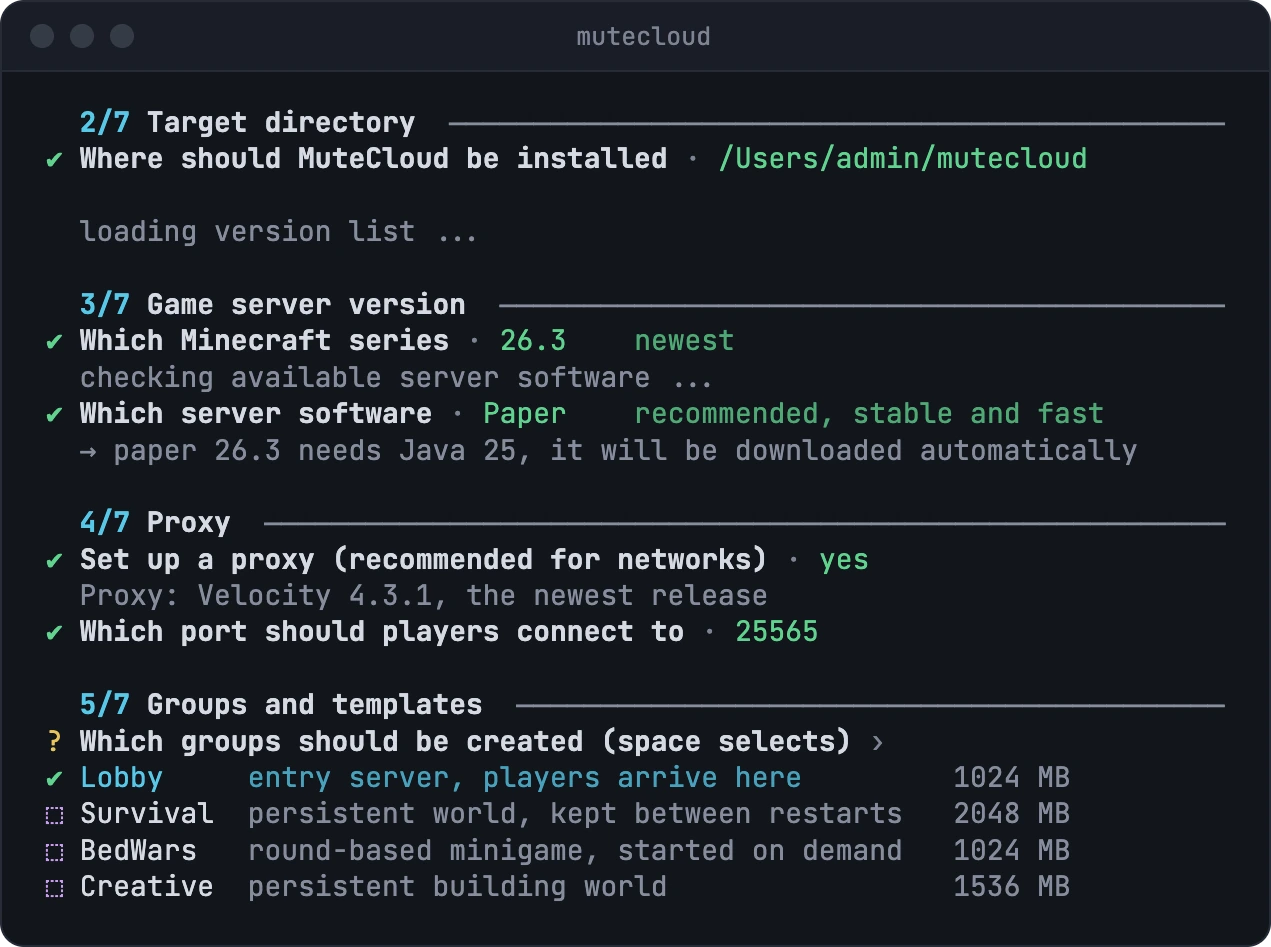
Adding a node. For a new network it asks for the target directory,
the Minecraft version and server software, the proxy and the first groups. Move through the lists
with the arrow keys, select with space and confirm with enter. Which group players land on when
they join is set later by fallback in the group file, see Groups.
Finally the setup asks for the network and node name, the port of the control interface and the memory pool, sums everything up and only applies it once you confirm. On Linux it then offers to set MuteCloud up as a systemd service, otherwise it can start the cloud right away in the same window.
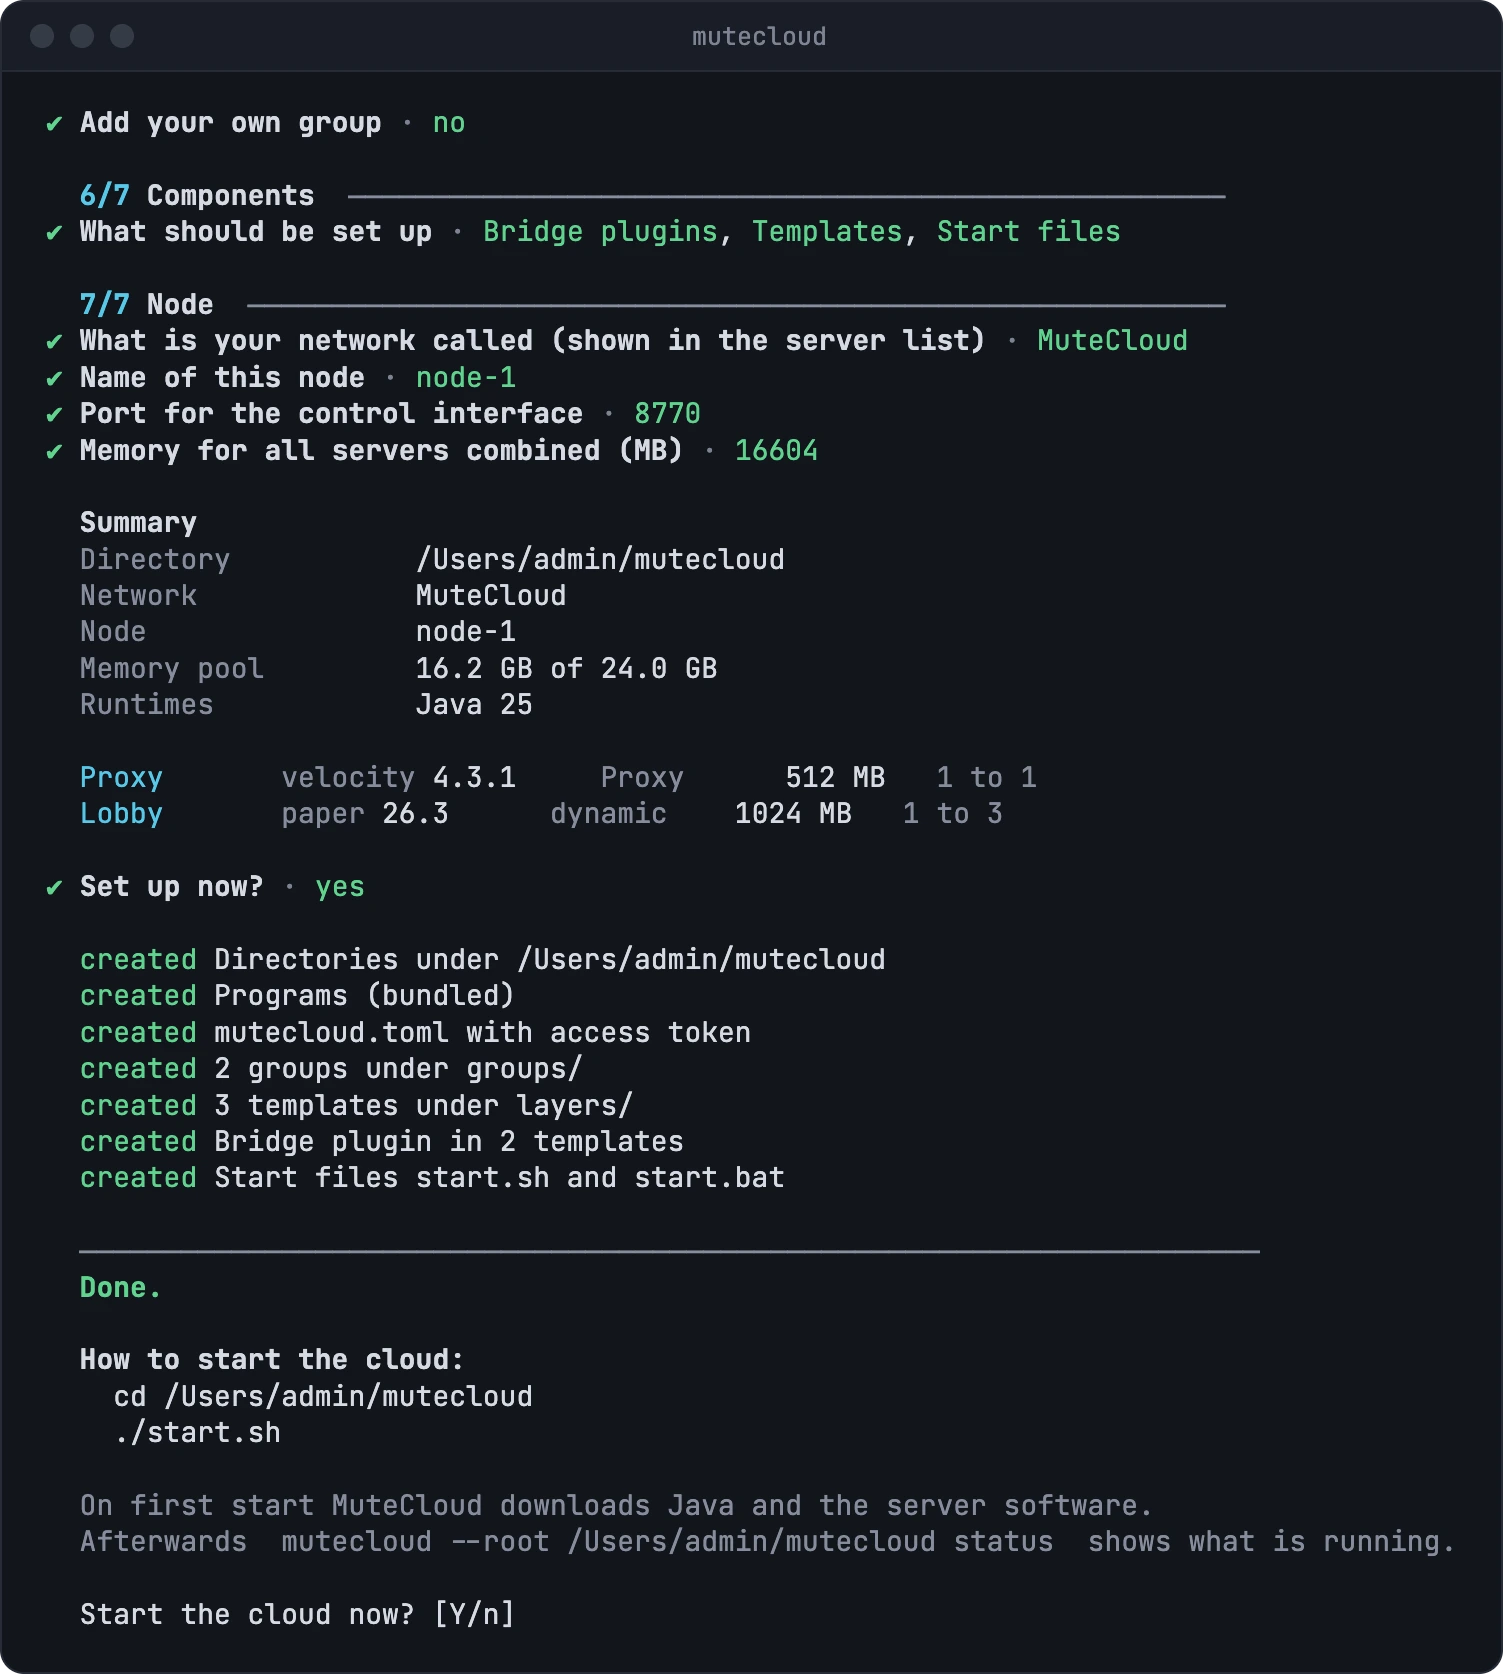
mutecloud init produces the same result without the dialog. Afterwards the directory looks like
this:
mutecloud              the binary
mutecloud.toml         settings for this node
groups/*.toml          one file per group
layers/<name>/         templates, stacked on top of each other
runtimes/              downloaded Java runtimes
cache/                 server software
run/                   working directories of ephemeral servers
static/                working directories of persistent servers
logs/                  log books
dumps/                 saved crashes
Running
cd ~/mutecloud
./mutecloud run
Started in the foreground, MuteCloud presents its console with the mutecloud> prompt.
When it runs in the background, ./mutecloud console attaches to the same prompt, and
individual commands can be issued directly, for example ./mutecloud service.
As a systemd service:
[Unit]
Description=MuteCloud
After=network-online.target

[Service]
ExecStart=/opt/mutecloud/mutecloud run --root /opt/mutecloud
WorkingDirectory=/opt/mutecloud
Restart=on-failure
User=mutecloud
TimeoutStopSec=120
KillMode=mixed

[Install]
WantedBy=multi-user.target
KillMode=mixed matters. Without it systemd sends the signal to every server at once when
stopping; the servers then end behind the cloud's back, it reports crashes, and the proxy no
longer says goodbye to the players. With mixed the cloud shuts its servers down itself, one
after another.
Updating
./mutecloud update            # look for a newer version
./mutecloud update --install  # install it
./mutecloud update --rollback # back to the previous one
Every release is signed, and the signature is verified before any file is replaced. The
installation history is recorded in update.log.
Requirements and sizing
What MuteCloud needs to run, which server fits your network, and a calculator for RAM, CPU and storage.
Migrating from CloudNet, TimoCloud and SimpleCloud
Move an existing CloudNet 4, TimoCloud or SimpleCloud network to MuteCloud with one command, without touching the old installation.